
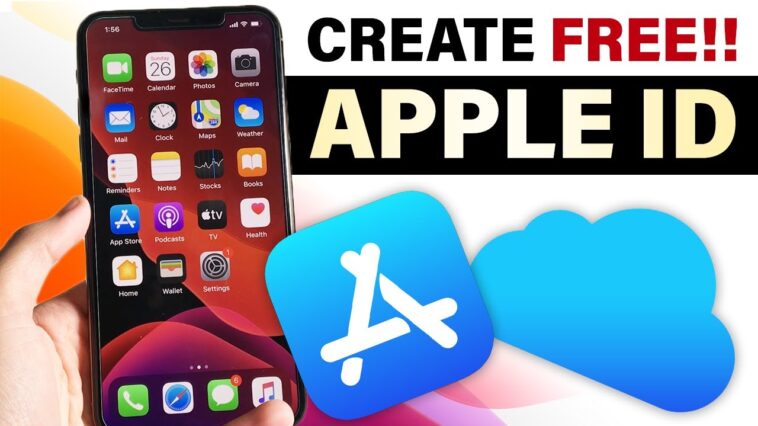
How to Create a New Apple ID From the App Store on an iPhone or iPad
Have you been looking for a way to create your new apple ID, today we shall guide you on how to create a brand new apple ID from the apple app store. You can use the App Store on your iPhone or iPad to download and buy apps, books, music, and other content.
If you’re setting up a new device or replacing an old one with a new one, you might also want to create a new Apple ID so that when you sign in to the App Store, your purchases are associated with the correct Apple ID.
If you’re replacing an old device with a new one (or if you’ve simply forgotten your Apple ID password), you need to create a new Apple ID from the App Store app on your iPhone or iPad. Doing so opens up sign-in options for iCloud and other Apple services that require you to log in with a username and password.
On the off chance that you haven’t utilized the App Store on your iPhone or iPad gadgets, then you can pursue another Apple ID when you send off the App Store application interestingly. iOS will provoke you to sign in with a current Apple ID to purchase or download applications from the App Store, or you can tap on the Create New Apple ID choice towards the lower part of the screen. Utilizing this technique, you can likewise make Apple ID
iOS 16.4: The Top Features You Need to Know About
All your iPhone notes gone in Apple Notes app? Here’s the fix
without Visa, so that when you set up Apple ID, you see a Payment Method of ‘None’.
This is the way to make Apple ID utilizing the App Store on iPhone or iPad:
To begin with, guarantee that you are endorsed out of your iCloud account.
How to Create a New Apple ID From the App Store on an iPhone or iPad
1. Start the App Store application.
2. Tap on the Create New Apple ID choice at the base.
3. Enter your current email address and pick areas of strength for your new record. These subtleties will be the username and secret key of your new Apple ID, so ensure you enter them accurately.
4. Then, pick the nation of your charging address. All Apple IDs are district locked, so ensure you pick your charging address astutely.
5. On the following screen, read the Terms and Conditions and Privacy Policy, then tap on Agree followed by Next.
6. Fill in your name, and birthday, and pick in the event that you might want to buy into refreshes from Apple.
7. Presently, enter your charge card and charging data. Pick None if you would rather not put up an installment strategy immediately.
8. Enter and affirm your telephone number, then continue further.
9. Apple will send you an affirmation email to your email address. Click on the check connect in this email when you get it.
10. Your Apple ID is currently fit to be utilized.