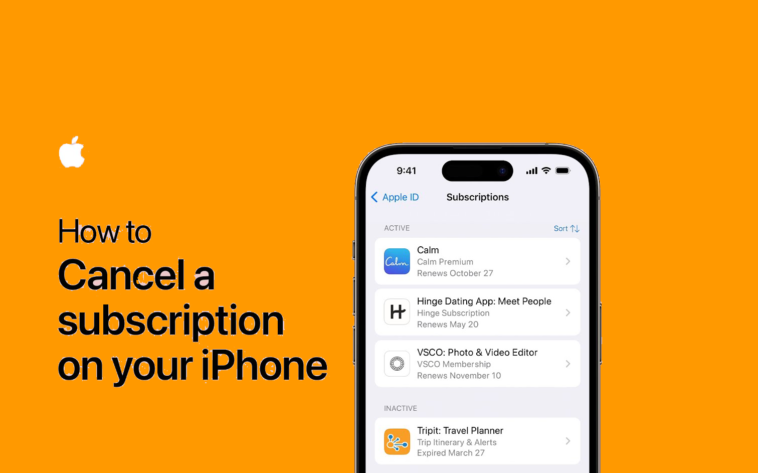
Quick and Easy: How to Cancel a Subscription on iPhone iPad or Mac
Canceling a subscription can be a pain, but it doesn’t have to be. Depending on what device you’re using, the process can be quick and easy. In this article, we’ll show you how to cancel a subscription on your iPhone, iPad, or Mac.
We’ll also go over some tips for canceling subscriptions in case you’re having trouble. So whether you’re ready to call it quits or you’re just looking for a way to change your subscription, we’ve got you covered.
How to Cancel a Subscription on iPhone
To cancel a subscription on your iPhone, iPad, or Mac:
1. Open the Settings app.
2. Tap on “iTunes & App Store.”
3. Tap on your Apple ID at the top of the page.
4. Tap on “View Apple ID.”
5. Tap on “Subscriptions.”
6. Tap on the subscription you want to cancel.
7. Tap on “Cancel Subscription.”
8. Confirm by tapping on “Cancel Subscription.”
How to Cancel a Subscription on iPad
There are a few ways that you can cancel a subscription on your iPad. We’ll show you two of the most common ways.
The first way is to open the Settings app and tap on iTunes & App Store. Tap on your Apple ID at the top of the screen and then tap View Apple ID. You’ll be asked to enter your Apple ID password, after which you’ll be taken to a page with all of your account information. Scroll down to Subscriptions and tap on the one you want to cancel. Tap Cancel Subscription and then confirm by tapping Cancel Subscription again.
Quick and Easy: How to Cancel a Subscription on iPhone iPad or Mac
The second way is to open the App Store and tap on the Profile icon in the top-left corner. Tap on View Apple ID and enter your Apple ID password if prompted. Scroll down to Subscriptions and tap on the one you want to cancel. Tap Cancel Subscription and then confirm by tapping Cancel Subscription again.
How to Cancel a Subscription on Mac
It’s easy to cancel a subscription on Mac. Just follow these simple steps:
1. Open the App Store on your Mac.
2. Click on the “Account” tab in the toolbar at the top of the App Store window.
3. Scroll down and click on “Manage Subscriptions.”
4. Select the subscription you want to cancel and click on “Cancel Subscription.”
5. Confirm your cancelation by clicking on “Cancel Subscription” again.
The subscription will be canceled and you will no longer be charged for it.
How to Cancel Your Apple TV+ or Apple One Subscription
Move from Android to iPhone iPad or iPod touch
What Happens After I Cancel?
So, you’ve taken the plunge and canceled your subscription – what comes next? Well, this depends on the nature of your subscription and the type of service or product you’re canceling.
In most cases, you’ll continue to have access to the service or product that you subscribed to until the end of your current subscription period. After that, the service or product will be deactivated and you won’t be able to access it anymore.
In some cases, however, you may not be charged again but may still have access to the service or product for a period of time. This is often referred to as a “grace period” and can vary depending on the individual company offering the service or product.
Finally, if there are any refunds applicable for canceling your subscription early, these will usually take up to 30 days from when you initially requested the cancelation.
Tips for Managing Subscriptions
If you’re only wanting to manage a few subscriptions, the easiest way is to use the App Store itself. To see your current subscriptions, go to Settings, then tap “iTunes & App Store”, and select “Manage Subscriptions.” You’ll be presented with a list of active services, and you can choose to cancel or change the payment plan of any subscription.
You should also keep in mind that canceling an app subscription won’t delete the app—all it does is prevent any future charges. To actually delete an app from your device, you have to go into your list of apps and remove it manually.
But if you find yourself with lots of different subscriptions coming out of your pocket each month and can’t keep track of them all, there are some tools that can help you simplify things. A popular one is SubscriptMe which can help analyze your spending habits and pinpoint what services are costing you money each month.
FAQs About Canceling Subscriptions on iPhone, iPad or Mac
If you still have questions about canceling a subscription on your iPhone, iPad or Mac, read on as we tackle some of the most frequently asked questions.
– Can I refund a subscription? Yes! You can request a refund for an app or service purchased via the App Store, iTunes Store, Apple TV app, Mac App Store, etc. Refunds are typically issued within 2-3 business days.
– What if I don’t remember how much I paid for my subscription? Don’t worry! Go to your Purchase History in Settings to get the exact amount you paid for your subscription.
– How do I cancel subscriptions from third-party apps? For subscriptions from third-party apps like Netflix and Hulu, you’ll need to cancel directly through their website or app.
– When will my subscription be canceled? When you cancel a subscription via Settings, it will remain active until the end of the current billing cycle before being fully canceled.
Conclusion
Canceling a subscription on your iPhone, iPad or Mac is actually pretty easy, and can be done in just a few steps. First, open the Settings app and tap on your name at the top of the screen. Next, tap on Subscriptions, and then select the subscription you want to cancel. Finally, tap the Cancel Subscription button and confirm your cancelation. That’s it!


GIPHY App Key not set. Please check settings